Composer
Laravel uses a composer for managing dependencies within it. Hence, before the use of Laravel, it needs to check whether you have a composer set up on your system or not.
You will have to follow the steps given below for installing Laravel onto your system −
- Visit the following URL and download composer to install it on your system.
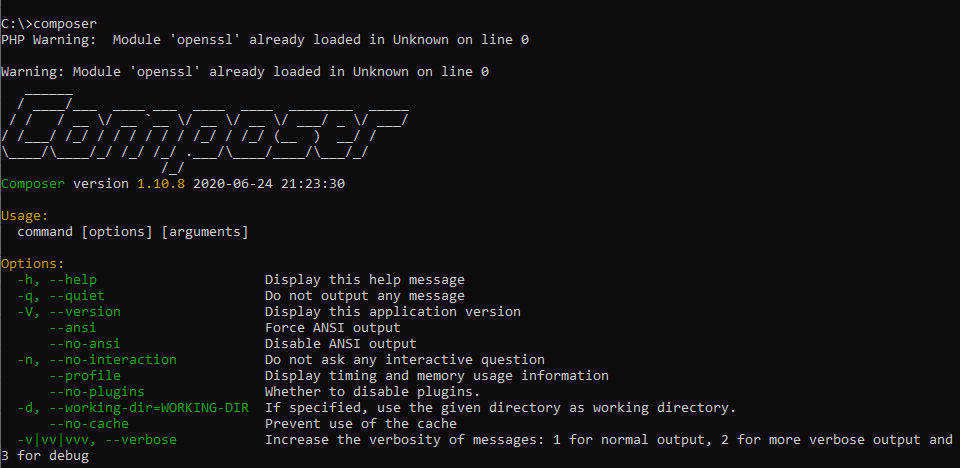
https://getcomposer.org/download/ - After the Composer is installed, check the installation by typing the composer command in the command prompt as shown in the following screenshot.

- Create a new directory anywhere in your system for your new Laravel project. After that, move to the path where you have created the new directory and type the following command there to install Laravel.
The command mentioned above will make Laravel installed on that specific directory.composer create-project laravel/laravel –-prefer-dist - Start the Laravel service by executing the following command.
php artisan serve - The above code will start the Laravel service. A message will appear on the screen: A black screen will appear showing the message: Laravel Development server started on http://localhost:8000
- Copy and paste: http://localhost:8000 in your browser, and you can see the Laravel home screen appears in your browser.
- If you see the following screen, it means Laravel has been installed successfully.
